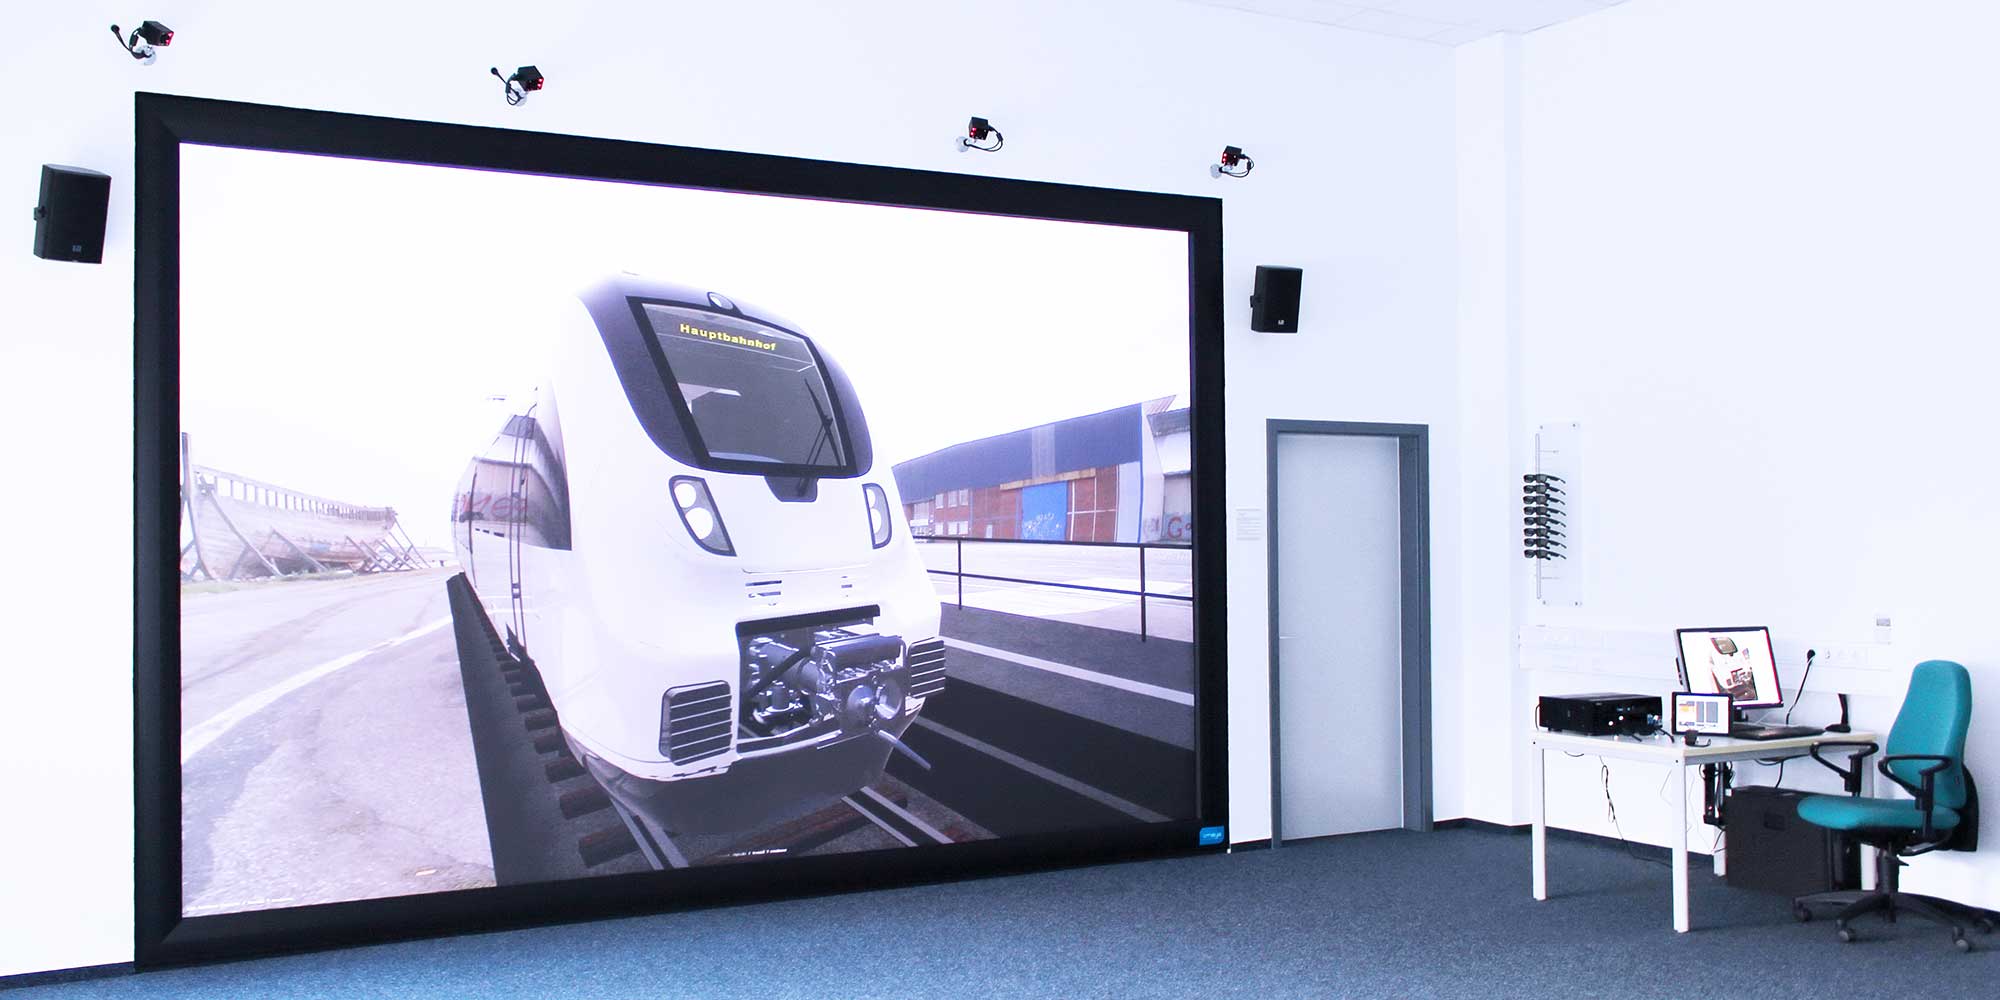
Quad-buffered mode and Powerwall
You can use Pixyz Review on VR immersive devices such as Powerwall stereoscopic screens.
In quad-buffered mode, you can use a flystick or a joypad to control navigation.
NOTE Unity no longer provides support for the ART Flystick 2 and Version ART 2.14.

Requirements
This configuration is required for the quad-buffered mode:
- One rendering node, that is, without cluster
- The ART optical tracking system
- An Nvidia Quadro GPU for stereoscopy
Setup
To set up the quad-buffered mode, you must provide information about the position of your Powerwall screens and your users according to only one position reference.
You can use two modes:
- Trackerless
You can define a point in your room that is the reference for the full setup. - D-Track system
Use the reference from your ART optical tracking system, which is often placed with a set square in your room.
Procedure
On the AR/VR pane, select Quad Buffer from the list of hardware. If the AR/VR pane isn't displayed, use the Window menu to select which panes to display.
Step 1: identify the reference or use your own reference
If you use the ART Tracking system, use its reference.
If you use the Trackerless mode, you can take any point in your room, but we recommend that you use one of these points:
- The middle bottom of your screen
- The position of your user
These points help you save time when setting values afterward.
Take tape measures.
Step 2: size and place your screen according to your reference
This information is required:
- The size of your screen, that is, the width and the height in meters
- The resolution of your screen
- The reference that you have chosen
Set this information:
|
Setting |
Value |
|
ScreenResolutionWidth ScreenResolutionHeight |
Set the resolution of the targeted Powerwall screen, in pixels. |
|
ScreenLeftBottomCorner |
Set these values for your screen. Position each element according to your reference. All measures must be in millimeters. Values can be negative. Set the position of the corners of the Powerwall screen according to the reference point of the tracking system as 0.0.0 for the X, Y, and Z axes:
|
Example
I'm not using D-Track. My reference is the bottom middle of the screen. Its position is the following:
- x = 0
- y = 0
- z = 0
My screen is 6 meters wide and 2.4 meters high:
|
Setting |
X |
Y |
Z |
|
ScreenLeftBottomCorner |
-3000 |
0 |
0 |
|
ScreenRightBottomCorner |
3000 |
0 |
0 |
|
ScreenLeftTopCorner |
-3000 |
0 |
2400 |
Step 3: place your user according to your reference
You must indicate where your users are placed according to the reference. To do this, you provide the position of the head of the user who wears the 3D glasses.
If you have multiple watchers, place the head of the user in the middle of the group or seats. The further the user moves from this point, the more distortion might occur.
Set HeadPosition to the position of the head of the user, using the X, Y, and Z values.
In our example, the user is located at 2.5 meters and is standing up:
|
Setting |
Value |
Comment |
|
X |
0 |
The user is usually in the middle. |
|
Y |
2500 |
This value represents how far the user is from the reference, that is, the screen. |
|
Z |
1700 |
This value represents the height at which the head of the user is placed, which 1.70 meter from the ground. |
After setup, you can enter VR and wear the glasses to check rendering on your screen.
Settings for the ART D-Track system
This information is required:
|
Setting |
Value |
|
MotionSystem |
D-track |
|
GlassID |
The ID or number of your ART glasses body (head) |
|
HeadPosition |
The position to use if the glass trace is lost. |
This information is optional:
|
Setting |
Value |
|
Fast Launch |
Whether to enter VR faster. If you select this option, you can't grab objects or use laser interactions. Known isssue: If you launch a scene that contains interactions in fast launch, Review closes. |
|
SpawnPoint |
Use this setting to start at a specific position. See Define SpawnPoint. |
|
MotionSystem |
If you're using an ART Tracking system, select D Track. Otherwise, select None. If you select None, you can navigate with the mouse in Orbit Camera mode. |
|
NearClipPlane FarClipPlane |
Adjust the culling of your camera. |
|
VirtualScale |
Use this setting if you need to scale your scene. |
|
IPD |
Specify the interocular distance. The average is 65. The value must be between 62 and 68. |
|
Calibrate Screen |
Ignore this option. |
|
UseEnvironment |
Use this setting if you want to use a background environment. You can use your own HDRI map for an environment. You might need to scale the map if your model is big. See how to choose your own VR environment. |