Navigation Controls
Pixyz Studio offers 2 different modes to navigate in the viewport:
- Standard mode (DCC-like navigation) - Default Mode
- Catia-like navigation mode (mouse only).
Note
You can choose the 3D viewer navigation mode in the Preferences window, or from the Settings folder in the Visualization panel.
To manipulate the camera position and orientation in the viewport, use the following key combinations for each navigation mode:
Standard Navigation
| Combinations | Description |
|---|---|
 ALT Key + Left-click |
Rotate camera |
 ALT Key + Middle-click (or Mouse wheel) |
Pan camera |
 ALT Key + Right-click |
Zoom camera |
Catia-Like Navigation
| Combinations | Description |
|---|---|
 Middle-click (or Mouse wheel) + Left-click (or Right-click) |
Rotate camera |
 Middle-click (or Mouse wheel) |
Pan camera |
 Middle-click (or Mouse wheel) + Left-click (or Right-click) + Release |
Zoom camera |
Camera Rotation Center

The rotation center is the camera pivot point.
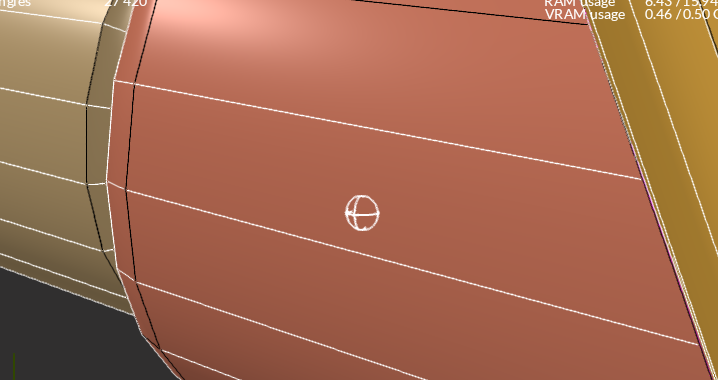
It is represented in the viewport by a 3D move & rotate gizmo (called a TrackBall) to help you manipulate the view:
| Item | Description |
|---|---|
 Middle-click (or Mouse wheel) |
Changes rotation center (camera pivot point). Automatically centers the camera view on the selected pixel. The click needs to be executed on an occurrence (part) present in the viewport. |
Note
The TrackBall visibility can be turned on and off from Preferences > Viewer > Navigation, or from the Settings folder in the Visualization panel.
Constraint Up Axis
The camera can be kept from rotating around the up-axis by toggling on the Lock Camera Up Axis parameter (from the Preferences , or from the Visualization panel).
Fit Camera View
To fit the camera view to the current selection of parts in the viewport, use:
Fkeyboard shortcut- The
Fit viewbutton from the Main Toolbar:
Note
When nothing is selected in the viewport (or the Root node is selected), the view is fit to the bounding box of the scene.